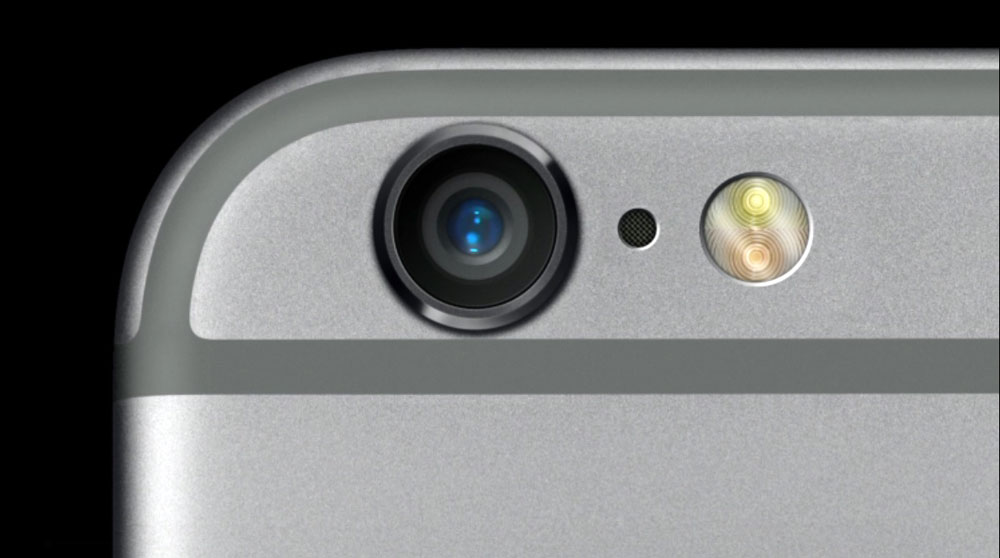
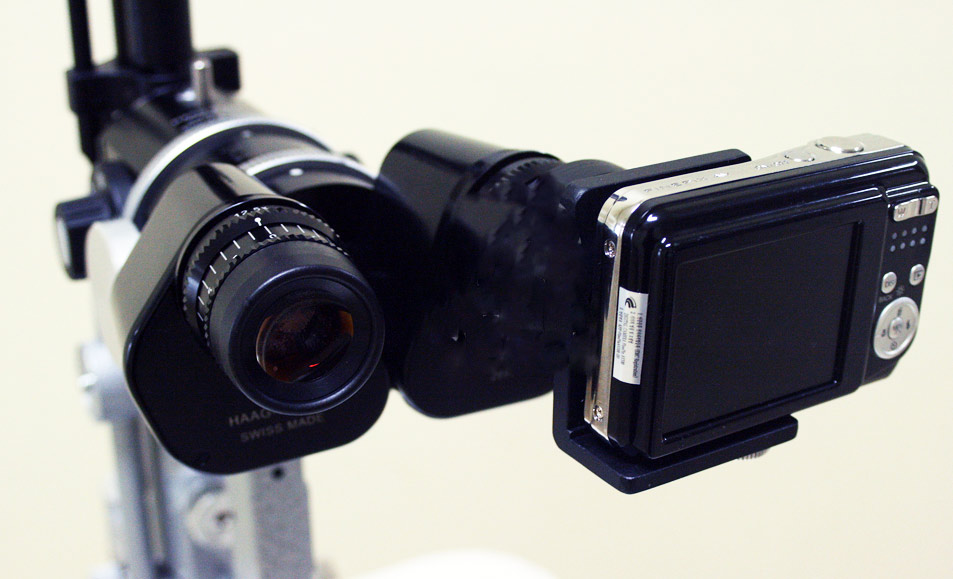
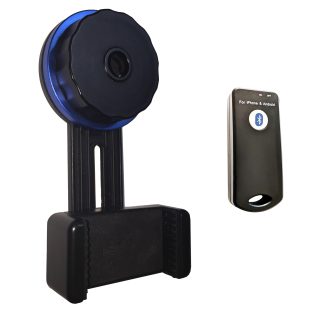
You want to start documenting slit lamp findings — anterior segment lesions, ulcers, post-op changes — and the easiest path is your phone. The hard part is figuring out which slit lamp adapter actually works on your specific lamp without alignment headaches or vignetting. Here’s how to choose between smartphone, DSLR, and C-mount paths, and what to verify before you buy.
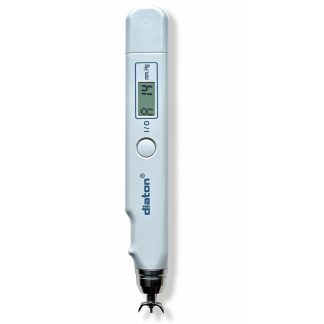
You already measure IOP on every patient. The question is which tonometer fits how your practice actually runs — not which one looks best in a spec sheet. If you’re deciding between a Tono-Pen and a non-contact tonometer (NCT), the answer depends on your patient mix, your workflow, and one or two clinical realities that most buying guides gloss over.
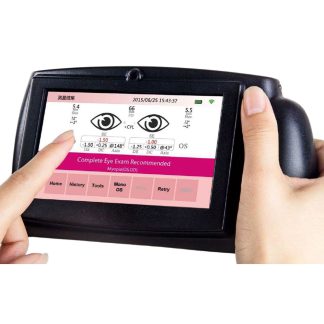
You’re running a small practice — maybe a solo OD, a two-chair office, or a new clinic building out its first lane — and you need an autorefractor keratometer. You don’t need the unit a 20-chair MD group bought. You need the one that won’t rob your exam room of space, won’t require a vendor phone call every time it crashes, and won’t depreciate the entire profit on your next 200 exams. Here’s how to narrow it down without overbuying.
You’re looking at two OCT listings — one says “used,” one says “refurbished” — and the price difference is significant. Before you buy a used OCT machine, you need to know what those labels actually mean in the ophthalmic equipment market. They’re not standardized terms, and vendors use them differently.
You’re evaluating a pediatric vision screener for your practice, school health program, or community clinic — and the standard Snellen chart isn’t cutting it anymore. You already know that. What you need is a practical breakdown of what actually works, what the technology does, and whether a refurbished unit is worth considering. That’s what this is. Continue reading Pediatric Vision Screener: A Practical Buyer’s Guide for Clinicians
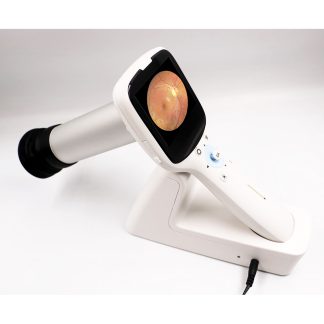
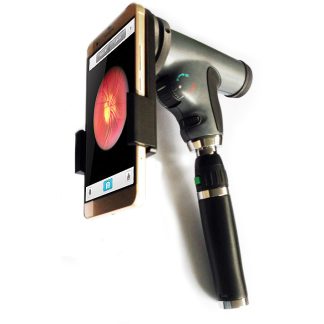
You’re evaluating a portable fundus camera and three vendors are quoting you three different things. The spec sheets don’t line up, the price range is wide, and you’re not sure whether buying refurbished is a risk or just smart. This guide is for that moment — practical, no filler, written for clinicians who already know what a fundus camera does. Continue reading Portable Fundus Cameras: What to Know Before You Buy
Section 179 of the IRS tax code allows businesses — including medical practices — to deduct the full purchase price of qualifying equipment in the year it is placed in service, rather than depreciating it over several years. For ophthalmologists and optometrists, this can mean writing off the full cost of diagnostic equipment purchased during the tax year.
Portable slit lamps have come a long way in recent years. LED illumination, lightweight frames, and rechargeable batteries have made handheld slit lamps a practical option for bedside exams, pediatric patients, remote screenings, and mobile clinics. Here are two handheld options currently available at Digital Eye Center.
Voy a analizar las ventajas de usar un adaptador de iPhone para lampara de hendidura como tu herramienta principal para fotografía digital son muchas. , ademas de las diferentes opciones que encontraras en el mercado y trucos que te permitirán tomar mejores fotografías del ojo.
Probablemente ya tengas un “smartphone” en su bolsillo, y casi podría adivinar que es un iPhone, correcto? Y ademas, si eres curioso ya has tratado de tomar fotos con el usando tu lampara de hendidura a través del ocular.
¿Que fue lo primero que trataste de hacer cuando tuviste tu primer iPhone? Lo primero que yo hice fue tomar fotos.
La televisión no paraba de anunciar la nueva cámara del iPhone que prometía ser comparable a las cámaras compactas y que no necesitarías ninguna otra cámara adicional.
Así que tuve que probarla, y no me decepciono. En todos los nuevos modelos del iPhone que han salido desde entonces; el 3, 4, 4s, 5, 5s, etc, la cámara siempre ha sido uno de los principales focos de atención y a mejorado con cada modelo nuevo: desde los 3 megapixels de la primera versión hasta los 8 megapixels de hoy, sensores mas grandes, mejor enfoque y rapidez.
Hasta hace poco tiempo el Optometrista tomaba fotos del segmento anterior del ojo enfocando con su camara compacta a través de los oculares de la lampara de hendidura.
Hoy en día tenemos disponible el adaptador de camara para lamparas de hendidura que se insertan directamente sobre el ocular o en lugar de este.
Estas cámaras compactas también te permitirán tomar vídeos, que son indispensables para fotografiar el fondo del ojo.

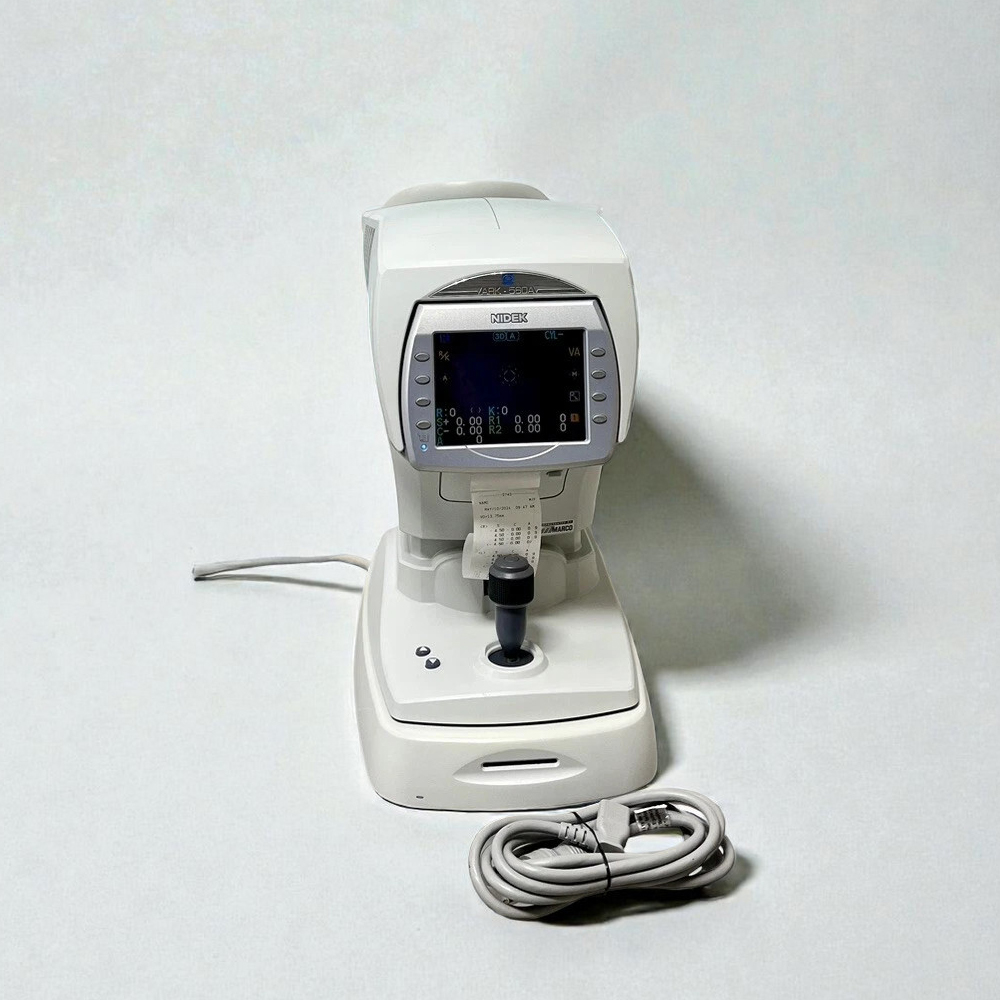 You’re running a small practice — maybe a solo OD, a two-chair office, or a new clinic building out its first lane — and you need an autorefractor keratometer. You don’t need the unit a 20-chair MD group bought. You need the one that won’t rob your exam room of space, won’t require a vendor phone call every time it crashes, and won’t depreciate the entire profit on your next 200 exams. Here’s how to narrow it down without overbuying.